The Real Cost of Ignoring HVAC Maintenance
Heating, ventilation, and air conditioning (HVAC) maintenance is like brushing your teeth and scheduling dental checkups. If HVAC maintenance is ignored, it leads to higher costs and more extensive damage. Routine maintenance is essential for spotting and fixing minor problems before they escalate.
As a homeowner, it’s easy to forget about scheduling an HVAC tune-up until it’s too late. To see how neglected maintenance impacts your bottom line, let’s dive into reasons why maintenance gets ignored, the consequences, and what you can do about it.
Why HVAC Maintenance Gets Ignored
Most homeowners aren’t deliberately skipping their essential maintenance. Instead, we often find that maintenance is ignored for some of the following reasons.
- “It’s working fine”: When you don’t notice any apparent issues, it doesn’t seem like you need to schedule a tune-up. In reality, there are likely hidden problems occurring behind the scenes. Tune-ups can spot these issues before they become major repairs.
- Busy Schedules: Many Americans are constantly rushing between work, school, and home. Trying to add an appointment to an already full schedule feels impossible, so some people skip their tune-ups entirely.
- Trying to Save Money: Other people are concerned about the cost of booking a furnace, AC, or heat pump maintenance appointment. Unfortunately, trying to save money upfront simply leads to more costly bills in the long run.
- Not Understanding What Maintenance Includes: If you don’t know what happens during routine maintenance, it’s hard to appreciate the benefits. At Central Oregon Heating, Cooling, Plumbing & Electrical, we strive to help local residents understand what happens during routine tune-ups and why they are important.
The Hidden Financial Cost of Skipping HVAC Maintenance
Over time, the costs of skipping your heating and cooling maintenance can quickly add up. From higher energy bills to costly emergency repair fees, there are many unnecessary expenses that occur when you don’t complete your routine maintenance.
1. Higher Energy Bills
Maintenance is necessary for cleaning the components in your HVAC system. As these components become dirtier, they also get less efficient because of the added strain on your HVAC motor. The HVAC unit has to run longer to reach the same temperature, resulting in higher energy bills.
2. More Frequent Repairs
Delaying furnace and AC maintenance in Bend can also get expensive because of the cost of HVAC repairs. Tune-ups are a chance to catch minor, unnoticeable problems before they escalate. If these issues aren’t discovered, they can quickly spiral into expensive, preventable breakdowns.
3. Shorter System Lifespan
All of these factors contribute to shorter system lifespans. Normally, a well-maintained furnace will last for more than 15 years. Heat pumps and ACs typically last for 10 years or longer. If these systems are neglected, it can cut their lifespans by years.
To see how this plays out in the real world, let’s look at some standard costs.
- Tune-Up Cost for a Heat Pump: $158 to $598
- Replacement Cost for a Heat Pump: $4,243 to $7,938
The cost of a tune-up versus the cost of a replacement is strikingly different. Maintenance can also become even cheaper through an HVAC maintenance membership plan, making routine tune-ups far more affordable than a replacement.
4. Emergency Repair Fees
Finally, neglected maintenance increases the likelihood of emergency repairs. These repairs tend to happen during periods of peak use, which means you’ll likely pay peak season pricing. If the breakdown occurs outside of normal business hours, after-hours costs may also be involved.
Comfort Problems That Come From Neglect
While neglect can lead to dramatic issues, such as a complete HVAC breakdown or cracked heat exchanger, there are also more subtle signs.
- Uneven Temperatures: Your HVAC system will struggle to meet and maintain the appropriate temperature when it isn’t cared for properly. There may also be inconsistent temperatures in different parts of your home.
- Weak Airflow: Clogged air filters, leaky ducts, malfunctioning blower motors, and other issues can cause poor airflow.
- Strange Noises: A wide range of sounds can be heard if a part is failing and needs to be repaired.
- Poor Humidity Control: If your HVAC system is incorrectly sized or experiencing short cycling, you’ll often notice poor humidity control. This can leave you feeling clammy in the winter and sticky in the summer.
Health and Safety Risks
Besides the added costs, poor HVAC maintenance can result in a range of different health and safety risks.
Poor Indoor Air Quality
When your AC and furnace maintenance is neglected, dirt and dust can get into your HVAC system. From there, the dust can be blown throughout your home. Dirty filters are also less effective at blocking pollen and allergens.
If your condenser and evaporator coils aren’t cleaned properly, they can develop mold. Once this occurs, the mold spores can travel throughout your home using your ductwork.
Carbon Monoxide Risk
With heating systems, a cracked heat exchanger can result in carbon monoxide risks. This is one of the leading reasons why preventative HVAC maintenance and safety inspections are so important.
How Maintenance Actually Saves You Money
Routine maintenance doesn’t just improve your indoor air quality. It can also save you money.
- Improve Your Efficiency: Dirty components, clogged filters, and other maintenance issues cause your system to work harder, dragging down its energy efficiency.
- Avoid Costly Repairs: Better maintenance results in fewer repairs.
- Protect Your Warranty: Many manufacturers’ warranties explicitly require you to schedule tune-ups.
- Extend the Unit’s Lifespan: When an HVAC system is cared for properly, it can last years longer than a neglected unit.
- Reduce the Number of Emergency Calls: A well-maintained HVAC system is less likely to break down unexpectedly, so you don’t have to pay for expensive emergency calls.
Due to all of these factors, the cost of performing annual maintenance helps you spend less on early replacements and major repairs.
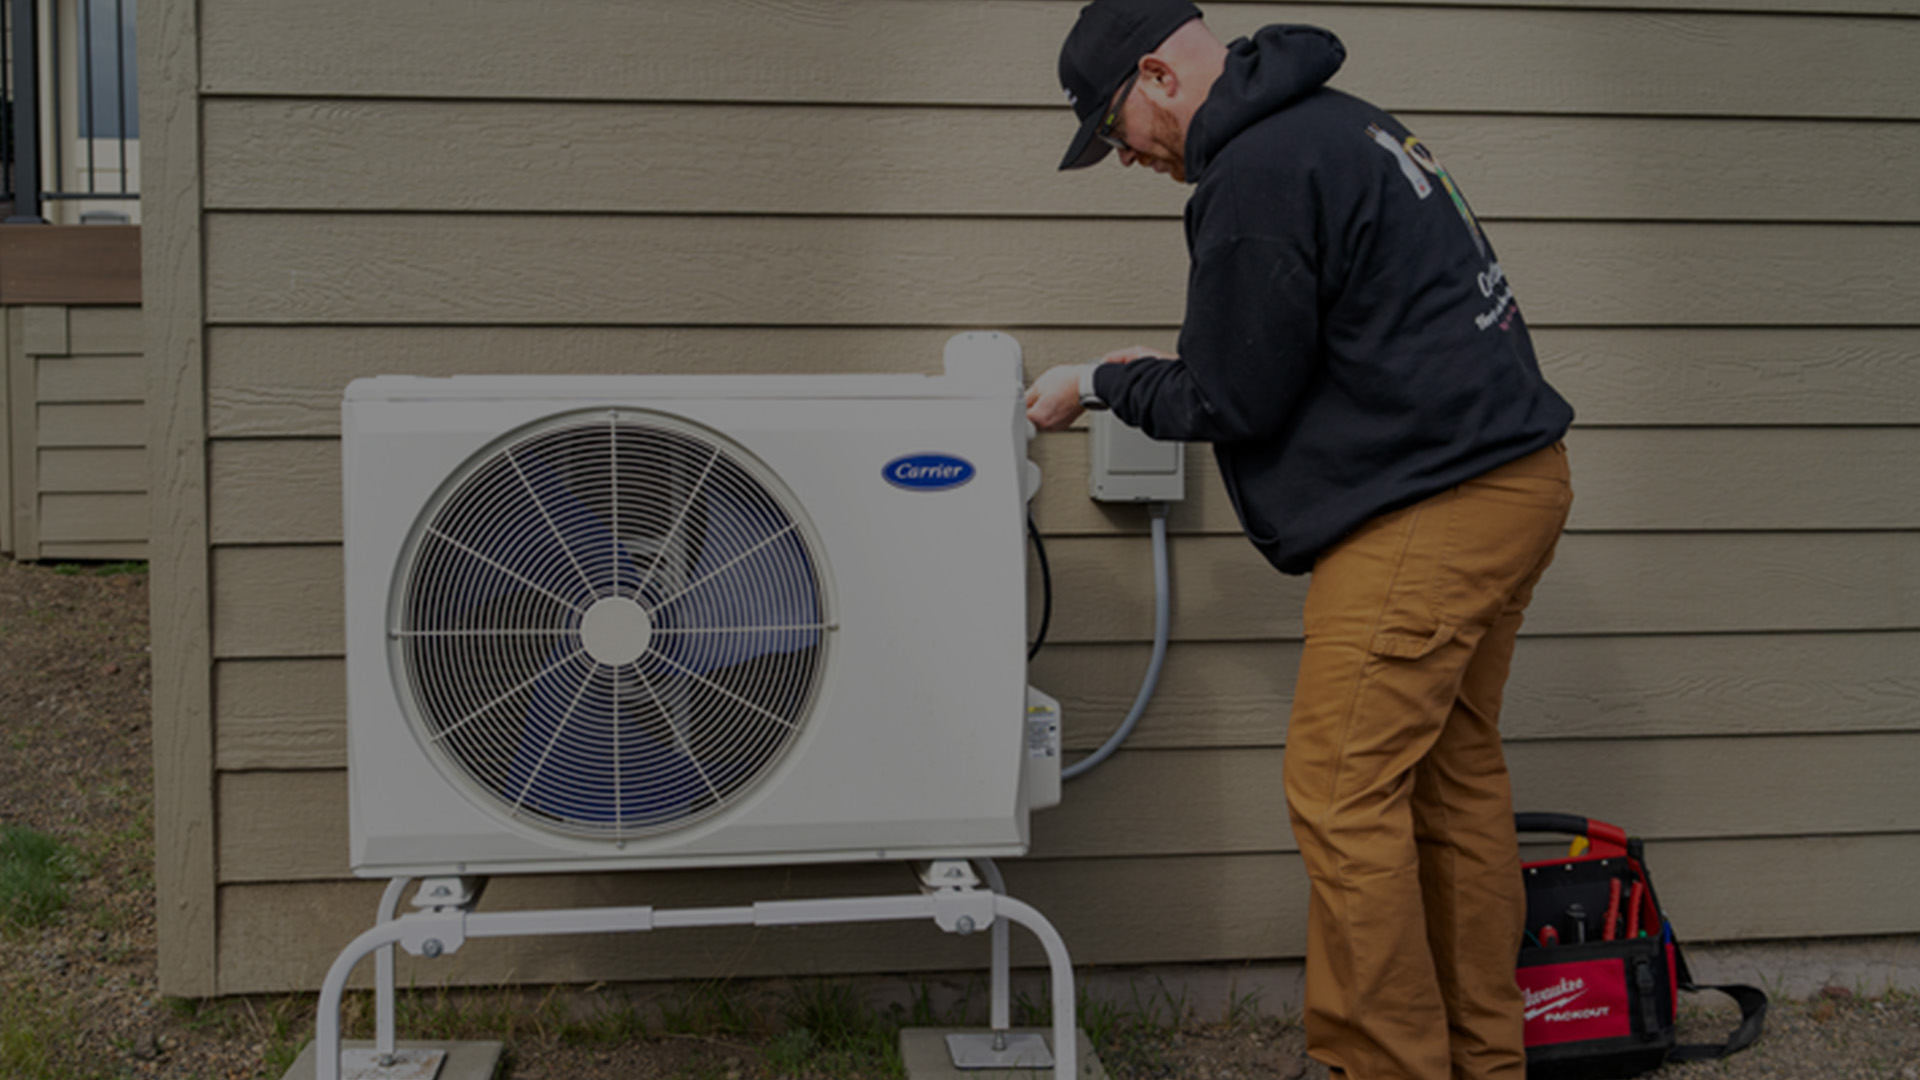
What’s Included in a Professional HVAC Tune-Up
When you schedule an HVAC tune-up, our technicians will take care of the following tasks to ensure your system runs safely and efficiently all year long. For cooling systems, you can also check out our detailed Spring AC Maintenance Checklist to prepare your air conditioner for the summer ahead.
Cooling Season Checklist
- Clean the condenser and evaporator coils.
- Check refrigerant levels.
- Tighten loose connections.
- Inspect electrical components.
Heating Season Checklist
- Inspect the heat exchanger.
- Clean the burners and flame sensors.
- Perform safety control testing.
- Check vent pipes for proper drafting.
- Clean grime off the blower motor and fans.
How Often Should HVAC Maintenance Be Done?
If you want to extend HVAC lifespan and avoid unexpected repair costs, we recommend performing a minimum of one tune-up per year. However, an ideal tune-up schedule involves a spring and fall appointment. During the springtime tune-up, we can care for your cooling system before the first heat wave arrives. Then, a fall tune-up ensures your heating system is prepared for winter.
While two tune-ups a year is our recommendation, there are instances where you may need more frequent tune-ups. As older systems age, they become less efficient and require more frequent repairs. To avoid expensive repairs and unexpected breakdowns, you may want to schedule more frequent tune-ups for older units.
Signs You’ve Already Delayed Maintenance Too Long
As a homeowner, there are a few common signs you’ve waited too long to do routine HVAC maintenance.
- Rising Energy Bills: If your energy bills keep increasing without an obvious reason, there is likely something wrong with your HVAC system. To avoid unexpected breakdowns and repairs, it’s a good idea to schedule your next tune-up as soon as possible.
- Frequent Cycling: When an HVAC system is badly maintained, it will struggle to reach the appropriate temperature. Other issues, like dirty flame sensors and clogged filters, can also trigger the unit to shut off shortly after it starts.
- Musty Smells: Your HVAC system should not produce any odd smells. Musty odors may indicate mold growth in your unit or dirt buildup.
- Older Systems: If your system is already over 10 years old, you shouldn’t wait to perform routine HVAC maintenance. HVAC efficiency declines as units age. Repairs also become more frequent. As a result, it’s important to be proactive about your maintenance and tune-ups.
Is a Maintenance Plan Worth It?
At Central Oregon, we make it easier to take care of your heating and cooling system. With a maintenance plan, you can enjoy a few convenient benefits.
- Priority Scheduling: Once you are a maintenance member, you go to the front of the line whenever an HVAC malfunction strikes.
- Discounts: If repairs are needed, our maintenance plan features discounts and special promotions that can lower your overall costs.
- Peace of Mind: Ultimately, one of the most important reasons why you should invest in a maintenance plan is for the peace of mind. When a winter storm appears or a sweltering heat wave leaves you sweating, you don’t want to spend your time worrying about a potential HVAC failure.
- Long-Term Savings: With proper care, you can avoid repairs, extend the longevity of your unit, and lower your energy bills.
When To Schedule Your Next Tune-Up
To keep your system functioning at its best, remember to schedule two tune-ups per year. A spring appointment is perfect for performing air conditioner maintenance and getting your system ready for summertime. Later, you should also schedule a fall tune-up so that your heating system is ready for an Oregon winter.
FAQs
Is HVAC maintenance really necessary?
Absolutely. Routine maintenance can improve your energy efficiency, prevent repairs, optimize performance, and extend the lifespan of your HVAC system. A clean, well-maintained HVAC system also delivers better indoor air quality for your home’s occupants.
How much does HVAC maintenance cost?
The cost varies based on your geographic location, the equipment involved, and who you are hiring to do the work. In most cases, tune-ups cost a few hundred dollars. At Central Oregon, we offer a convenient membership plan that includes two complimentary tune-ups per year.
What happens if you don’t service your furnace?
Initially, nothing will happen. As time goes on, the components will become dirtier and experience more wear. Your energy efficiency will decline, forcing your furnace to work harder to reach the same temperature. In turn, this leads to even more wear. Eventually, you’ll end up dealing with more expensive repairs and a much shorter furnace lifespan.
Does HVAC maintenance lower energy bills?
Absolutely. Sealing and insulating your ducts can boost your HVAC system’s efficiency by 20%. Air filter changes, recharging refrigerant, cleaning coils, and other tasks can significantly reduce the amount you end up spending on your energy costs each month.
How long should an HVAC system last?
It depends on the type of HVAC system. A well-maintained furnace should last 15 years or longer. In comparison, a heat pump or air conditioner will often last 10 years or more if it is cared for properly.
Book Your Next Maintenance Appointment
By setting up your HVAC maintenance appointment and caring for your equipment, you can prevent unexpected breakdowns and repairs. With the help of our team, you can prevent minor issues from escalating into major problems.
Schedule HVAC maintenance today!
Concerned that your HVAC system isn’t functioning at its best? Getting routine spring and fall tune-ups can optimize your energy efficiency and performance. Contact us today to ask about our maintenance plan.